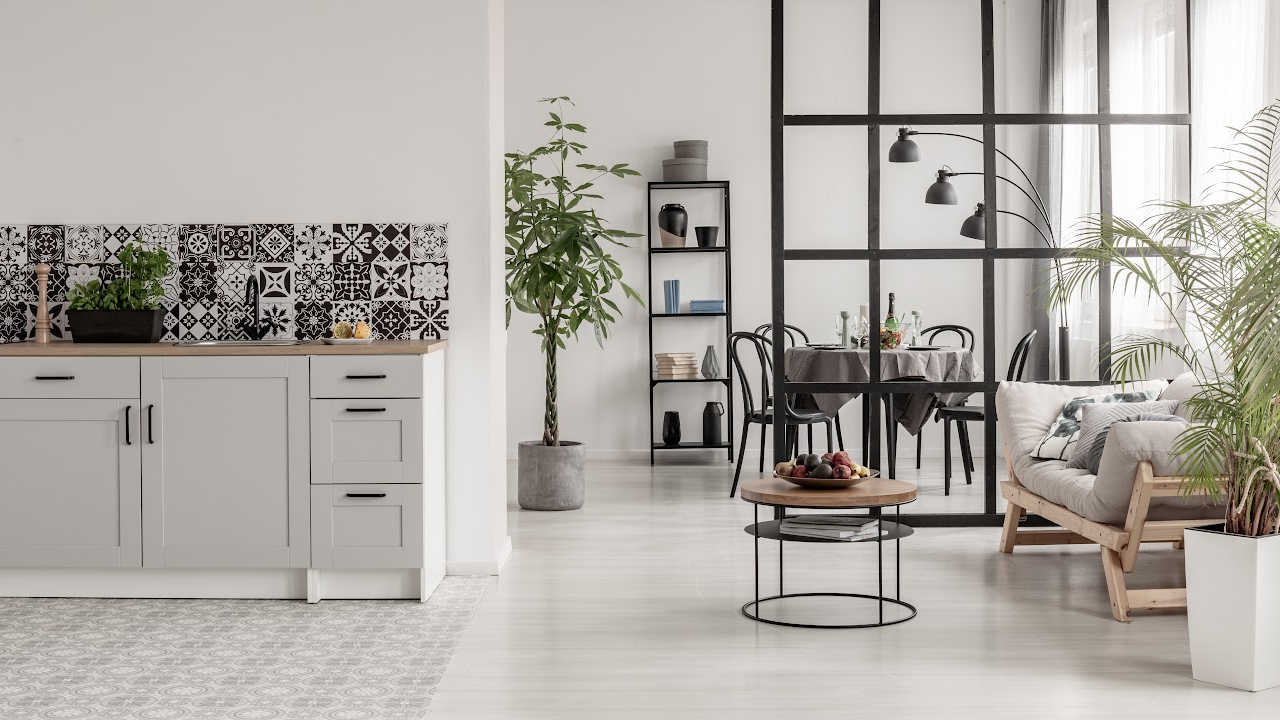
When it comes to giving your kitchen a fresh new look, painting the cabinets can make a huge impact. Not only is it a cost-effective alternative to replacing them entirely, but it also allows you to customize the color and style to match your personal taste. In this article, I will guide you through the process of painting kitchen cabinets like a pro, ensuring a professional finish that will transform your kitchen.
Benefits of painting kitchen cabinets
Painting kitchen cabinets offers several benefits that make it a popular choice among homeowners. Firstly, it is a more affordable option compared to buying new cabinets. By simply giving your existing cabinets a fresh coat of paint, you can achieve a brand-new look without breaking the bank. Additionally, painting allows you to personalize your kitchen and update its style to match current trends. Whether you prefer a classic white or a bold color choice, painting your cabinets gives you the freedom to choose the perfect hue for your kitchen.
Another advantage of painting kitchen cabinets is the ability to hide any imperfections or wear and tear that may have accumulated over time. Scratches, dents, and stains can all be easily covered up with a fresh coat of paint, giving your cabinets a smooth and flawless appearance. Lastly, painted cabinets are easier to clean and maintain compared to their natural wood counterparts. The painted surface acts as a protective layer, making it more resistant to damage and easier to wipe clean.
Preparing your kitchen cabinets for painting
Before you start painting your kitchen cabinets, it is crucial to properly prepare them to ensure a smooth and long-lasting finish. The first step is to remove all the cabinet doors and hardware, such as handles and hinges. This will make the painting process much easier and allow you to reach all the nooks and crannies. Next, thoroughly clean the cabinets to remove any grease, dirt, or grime that may have accumulated over time. A mixture of warm water and mild dish soap is usually sufficient for this task.
After cleaning, it is important to sand the cabinets to create a smooth surface for the paint to adhere to. Start by using a medium-grit sandpaper to remove the existing finish or any rough patches. Then, switch to a fine-grit sandpaper to further smooth out the surface. Be sure to sand in the direction of the wood grain for the best results. Once the sanding is complete, wipe down the cabinets to remove any dust or debris.
Choosing the right paint and supplies
Selecting the right paint and supplies is essential for achieving a professional-looking finish on your kitchen cabinets. When it comes to paint, choose a high-quality, durable option that is specifically formulated for cabinets or trim. These types of paints are designed to withstand the wear and tear of a kitchen environment and provide a smooth and even coverage. Consider using a semi-gloss or satin finish, as they are easier to clean and more resistant to moisture and stains.
In addition to paint, you will need a few other supplies to complete the painting process. High-quality brushes and rollers are essential for achieving a smooth and even application of paint. Look for brushes with synthetic bristles that are designed for use with water-based paints. For hard-to-reach areas, such as corners and edges, a small foam brush is useful. Don’t forget to have painter’s tape on hand to protect surfaces that you don’t want to be painted, such as countertops and walls.
Step-by-step guide to painting kitchen cabinets
Now that you have prepared your kitchen cabinets and gathered all the necessary supplies, it’s time to start painting. Follow this step-by-step guide to ensure a professional finish:
1. Prime the cabinets: Applying a primer is an important step as it helps the paint adhere better and provides a smooth base for the topcoat. Use a brush or roller to apply a thin and even coat of primer to the entire surface of the cabinets. Allow the primer to dry completely before moving on to the next step.
2. Paint the cabinets: Once the primer is dry, it’s time to start painting. Begin by applying a thin coat of paint to the cabinet doors, starting with the backside. Use long and even strokes to achieve a smooth finish. Once the first coat is dry, apply a second coat for better coverage. Repeat this process for the cabinet frames as well.
3. Let the paint dry: After applying the final coat of paint, allow the cabinets to dry completely before reattaching the doors and hardware. This will prevent any smudges or damage to the freshly painted surface. It is recommended to wait at least 24 hours before handling the cabinets.
4. Reattach the doors and hardware: Once the paint has dried, carefully reattach the cabinet doors and hardware. Ensure that everything is properly aligned and tightened. Take your time to make any necessary adjustments to ensure a seamless look.
Tips and tricks for achieving a professional finish
Painting kitchen cabinets can be a challenging task, but with the right techniques, you can achieve a professional finish. Here are some tips and tricks to help you along the way:
- Take your time: Rushing the painting process can lead to brush strokes, drips, or uneven coverage. Be patient and allow each coat of paint to dry thoroughly before applying the next one.
- Use light coats: It is better to apply multiple thin coats of paint rather than one thick coat. This will help avoid drips and ensure a smooth finish.
- Consider using a paint sprayer: If you have a large number of cabinets to paint, using a paint sprayer can save you time and provide a more even application. However, be sure to practice with the sprayer before applying it to your cabinets.
- Remove excess paint: After each coat of paint, lightly run a putty knife along the edges of the cabinets to remove any excess paint and create clean lines.
- Don’t forget the details: Pay attention to the details, such as the inside edges of the cabinet doors and the grooves of the frames. These areas can easily be overlooked but can make a big difference in the overall appearance.
Common mistakes to avoid when painting kitchen cabinets
While painting kitchen cabinets can be a rewarding DIY project, there are some common mistakes that you should avoid:
- Skipping the preparation: Properly preparing the cabinets is crucial for achieving a professional finish. Skipping steps such as cleaning and sanding can result in paint peeling or not adhering properly.
- Not using the right paint: Using the wrong type of paint can lead to a less durable finish that is prone to chipping and peeling. Make sure to choose a paint specifically formulated for cabinets or trim.
- Applying too thick of a coat: Thick coats of paint can lead to drips, brush marks, and an uneven finish. Always apply thin and even coats, allowing each one to dry before applying the next.
- Neglecting to label hardware: Before removing the cabinet doors and hardware, be sure to label them to ensure they can be easily reattached in the correct position. This will save you time and frustration during reassembly.
- Not allowing enough drying time: Rushing the drying process can result in smudges or damage to the freshly painted surface. Be patient and allow ample time for the paint to dry before handling or reattaching the doors and hardware.
Maintaining and caring for painted kitchen cabinets
Once you have successfully painted your kitchen cabinets, it’s important to take proper care of them to ensure their longevity and maintain their appearance. Here are some tips for maintaining and caring for your painted cabinets:
- Clean regularly: Regularly wipe down the cabinets with a soft cloth or sponge and mild dish soap to remove any dirt or grease. Avoid using abrasive cleaners or scrub brushes that can damage the paint.
- Avoid excessive moisture: While painted cabinets are more resistant to moisture than natural wood, it’s still important to avoid excessive exposure to water. Wipe up any spills or splatters immediately to prevent damage.
- Use gentle cleaning methods: When cleaning painted cabinets, use gentle cleaning methods such as a damp cloth or sponge. Avoid scrubbing or using abrasive materials that can scratch or dull the paint.
- Handle with care: Treat your painted cabinets with care to avoid chips or scratches. Be mindful when opening and closing doors and drawers to prevent any accidental damage.
- Touch up as needed: Over time, painted cabinets may experience some wear and tear. Keep a small amount of touch-up paint on hand to quickly fix any chips or scratches that may occur.
Conclusion: Transforming your kitchen with painted cabinets
Painting kitchen cabinets is a cost-effective and customizable way to transform your kitchen. By following the step-by-step guide and utilizing the tips and tricks mentioned in this article, you can achieve a professional finish that will give your kitchen a fresh new look. Remember to properly prepare the cabinets, choose the right paint and supplies, and take your time throughout the process. With a little patience and effort, you can enjoy a kitchen that looks like it was done by a pro.